

OpenAI GPT Image 2.6: Flare vs Sunburst—which should you choose?
Start with Flare if you need to explore compositions, create everyday images, or make changes while reviewing each result. Try Sunburst first when the visual direction is already clear and the job depends on product details, a demanding composition, or consistency across several edits.
That gives you a starting point. The useful comparison is how quickly each model delivers an image that meets your requirements, including the revisions needed to get there.
OpenAI released Images 2.6 on November 4, 2026, with Flare and Sunburst available through the API. Its announcement emphasizes faster iteration with Flare and stronger detail and editing consistency with Sunburst at medium or high quality. Read the Images 2.6 announcement.
If you want to start creating from a prompt or reference image in a browser, you can use the Image26 image workspace. The model and parameter comparison below refers to the OpenAI API; when using a browser tool, check which model choices that tool actually offers.
Flare vs Sunburst: choose by task
| Your task | First model to try | Why start there? | What to check |
|---|---|---|---|
| Explore backgrounds, lighting, and compositions for one product | Flare | Quick feedback helps you choose a direction | Clear subject, useful framing, and room for campaign copy |
| Create everyday social images and blog illustrations | Flare | Establish whether it already meets your delivery requirements | Readability at the intended size, crop, and copy space |
| Refine an approved product visual | Sunburst | Detail preservation deserves more attention at this stage | Product silhouette, material, and logo placement |
| Revise the same character or brand asset several times | Sunburst | Test whether accepted details survive successive edits | Previously approved features remain intact |
| Create a dense layout with several subjects or substantial text | Sunburst, with complexity testing | Evaluate both visual detail and relationships between elements | Accurate wording, hierarchy, and placement |
| Replace a background or change one small area | Either, starting with low complexity | A focused change is a good reason to test less planning effort | Unwanted changes outside the requested area |
These recommendations follow the models’ stated positioning; they are not rankings from our own controlled benchmark. OpenAI describes Flare as a model for fast, interactive generation and editing, and Sunburst as a model for detailed compositions and editing workflows.
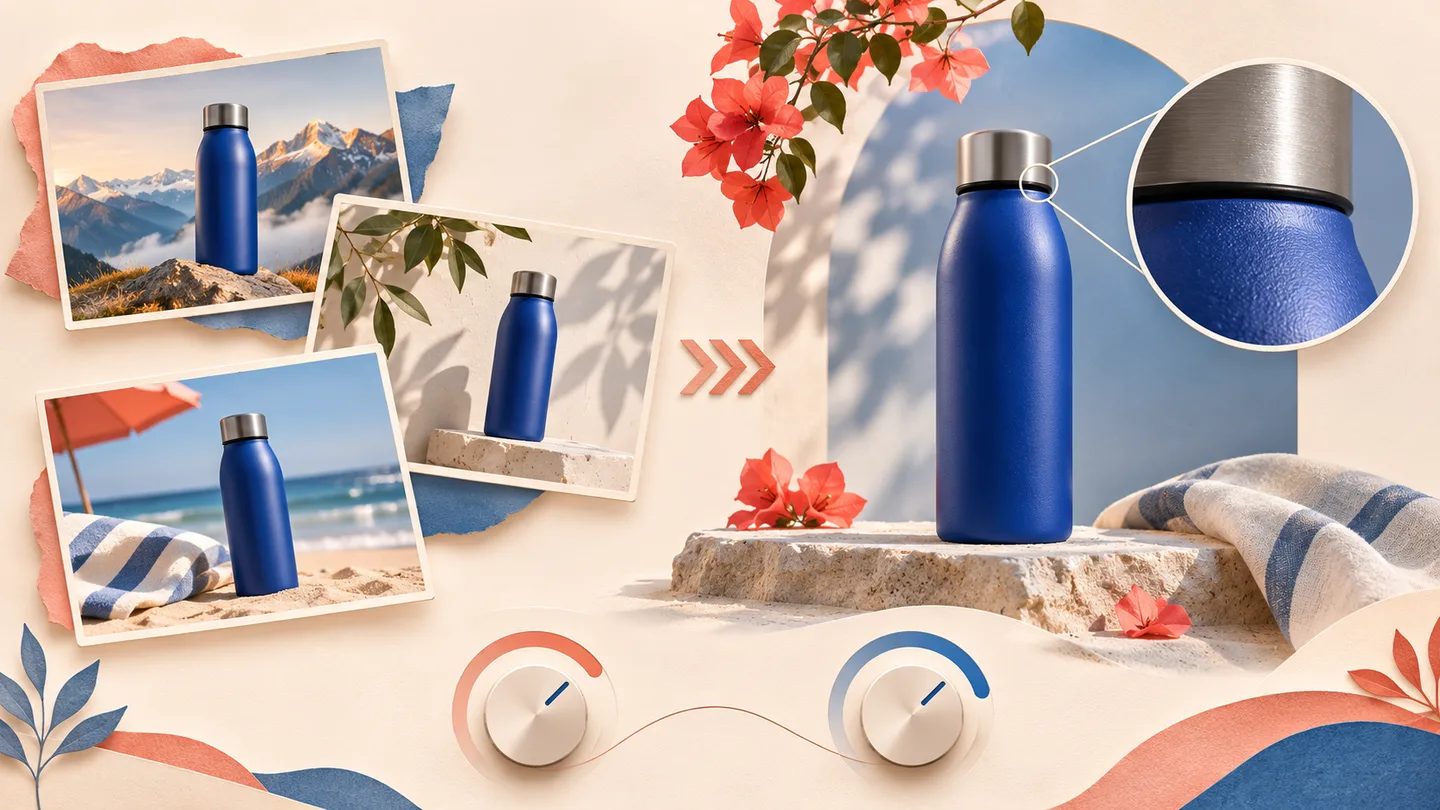
Original concept illustration: exploring directions on the left, reviewing details on the right, and two separate controls below. This is not a comparison of actual Flare and Sunburst outputs.
Choose Flare when you need to see the next version quickly
Suppose you are making a summer advertisement for a blue water bottle. You have not decided whether to use a beach, a mountain scene, or a studio backdrop. At this stage, a useful image helps you decide whether a direction is worth pursuing.
Keep the product reference and intended aspect ratio fixed. Change one element at a time: choose the setting, adjust the framing, then experiment with lighting. This makes it easier to identify which change improved the result.
Here is an original prompt you can adapt:
Use the uploaded blue water bottle as the product reference. Create a summer campaign concept with the bottle on a pale stone platform and a softly blurred sea in the background. Show the entire bottle and cap. Leave clear space in the upper-right corner for a headline added later. Do not generate text or add other products.
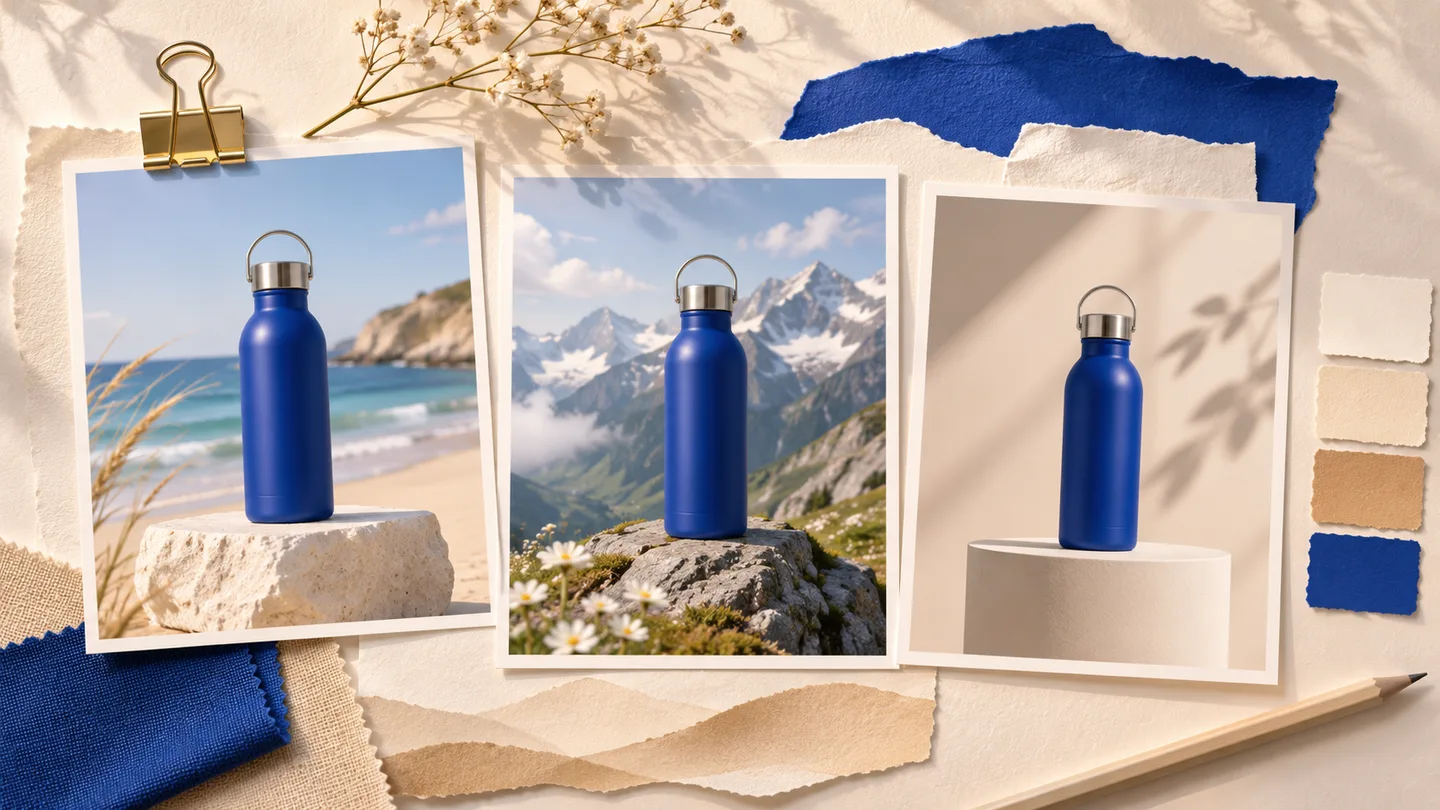
Concept illustration of three creative directions to explore. These are illustrative scenes, not measured Flare outputs.
Review three things first: Is the bottle clearly the subject? Is there room for the headline? Does the composition still work on a phone screen? Refining the bottle’s surface texture is unlikely to rescue an image that fails those basic checks.
OpenAI says Flare can generate an image in as little as six seconds at low quality. That claim has a quality condition; it does not promise six-second completion for every size or request, and it does not establish a fixed speed advantage over Sunburst. Source: Images 2.6 announcement.
If a Flare result meets the final brief, use it. Moving into the final production stage does not, by itself, require switching models.
Choose Sunburst when small changes determine whether an image is usable
Now the bottle campaign’s composition is approved. The client asks for a pale sand background while keeping the cap seam, bottle silhouette, blue finish, and crop unchanged.
The difficult part is preserving everything that already works. Sunburst is a sensible first candidate for this comparison, particularly when evaluating detail at medium or high quality.
Make the editing request specific:
Change only the background to pale sand. Preserve the water bottle’s position, size, blue finish, cap shape, and cap seam. Keep the existing contact shadow beneath the bottle and preserve the crop. Add no text or props.
Review the result in two passes. First, check that the background changed as requested. Then zoom in on the cap edge, silhouette, and shadow. For real products, compare against the original reference photograph as well as the preceding generated image.
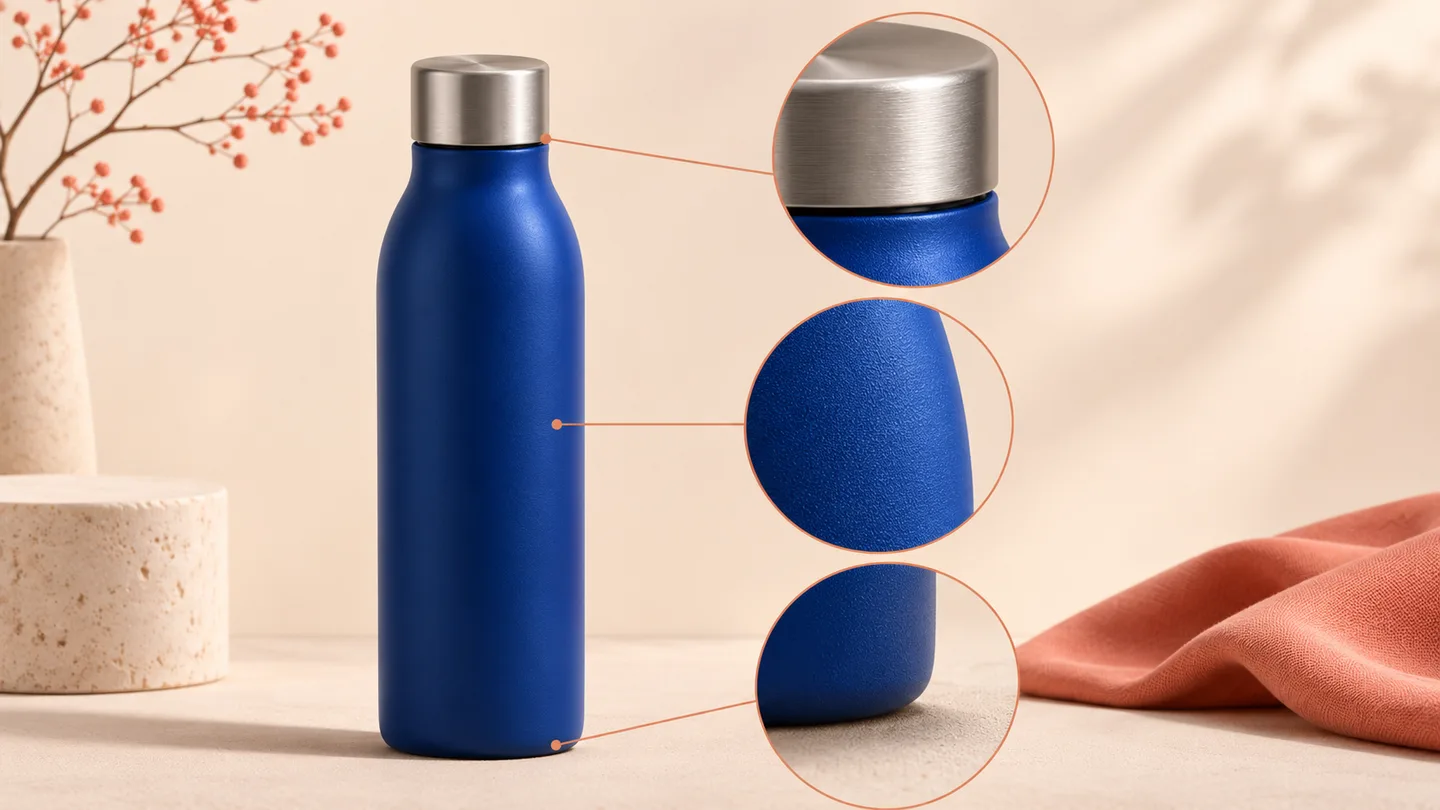
Concept illustration of details to inspect after an edit. This is not a Sunburst test result or a guarantee of detail preservation.
During a sequence of edits, save every version that passes review. If the third edit changes the bottle’s shape, return to the accepted second version and try again. Continuing from a distorted result makes it harder to separate intentional changes from accumulated errors.
Sunburst still needs review. Its positioning around precision does not replace checking brand text, product proportions, or recognizable character features.
Quality and complexity belong in the comparison
If you change models without recording the settings, you can mistake a parameter difference for a model difference.
quality affects visual detail and fidelity. complexity controls how much planning the model performs before rendering. A straightforward background replacement can still need high visual quality to preserve a product’s material and finish.
According to the OpenAI image generation guide, both 2.6 models support low, medium, and high complexity, with high used when the field is omitted. Higher complexity can increase latency and introduce unwanted changes. There is no separate fee for adjusting complexity, although you should still track actual request usage.
Use the following as test starting points:
| Task | Starting quality | Starting complexity | When to adjust |
|---|---|---|---|
| Check a creative direction | low | low | Once the composition works, increase quality to inspect detail |
| Preserve a product while changing its background | medium; try high for demanding detail | low | Check subject preservation before increasing complexity |
| Place several people and objects in specific relationships | medium | medium | Compare with high if spatial requirements remain unmet |
| Create a poster with dense copy and several levels of hierarchy | medium or high | medium | Review text accuracy and layout separately before increasing complexity |
One easy-to-miss detail: omitting complexity uses high. For a simple edit, explicitly setting low lets you test whether less planning effort suits the task.
Identify the failure before changing a setting. If texture is unclear, compare a higher quality setting. If people are standing in the wrong positions, simplify the instructions or test a different complexity level. Change one setting at a time so you can identify what helped.
Equal token prices can still produce different costs
As checked on November 5, 2026, both model pages list the same token rates:
| Billing category | Flare, USD per million tokens | Sunburst, USD per million tokens |
|---|---|---|
| Text input | $5 | $5 |
| Image input | $8 | $8 |
| Image output | $30 | $30 |
Sources: Flare pricing and Sunburst pricing. The table shows regular input and output rates, excluding cached-input discounts. Browser products may use separate credit pricing.
These are token prices, not fixed prices per picture. Output size, quality, actual usage, and retries affect the cost of completing a job.
For a content team, a useful calculation is:
Cost per accepted image = total generation spend for the batch ÷ number of images that pass review.
For example, suppose two test batches each cost $1. One produces ten acceptable images and the other produces five. Their costs per accepted image are $0.10 and $0.20. This is a calculation example, not measured performance for either model.
Also record the total time from starting the task to approving the final image. A quick first result can still lead to a slow job if it requires substantial revision.
Use three real jobs to choose your default
You do not need to start with dozens of unfamiliar prompts. Choose three tasks from your actual production queue:
- One new-image task. Give both models the same prompt, reference images, size, quality, and complexity. Check the composition and essential requirements.
- One focused edit. Use the same original image, request one change, and list the details that must stay intact.
- One editing sequence. Make three changes in the same order, with each model continuing from its own preceding result. Check whether errors accumulate.
Repeat representative tasks several times, and define acceptance criteria before reviewing the outputs. If possible, hide the model names during review to reduce the influence of expectations.
Record the model, size, quality, complexity, completion time, actual cost, pass or fail decision, and reason for rejection. Keep the focused-edit result separate from the editing-sequence result: they answer different questions about single-edit accuracy and consistency over time.
If your current tool offers one general image workspace, you can still prepare the reference images, prompts, and acceptance criteria in the Image26 image workspace. A direct comparison requires an interface that explicitly lets you select each model.
Which model should you start with?
For teams without their own test records, start with Flare for exploration and everyday interactive work, and Sunburst for tasks where detail matters and revisions are expensive.
Define what counts as acceptable before increasing quality, increasing complexity, or switching models. Keep using Flare for tasks it handles reliably. If Sunburst reduces detail-related rework, a longer individual generation may be worthwhile for that category of work.
The goal is a repeatable process: know which model to try, what to inspect, and what to change when an image misses the brief.
Prepared by Image26 Editorial. Sources checked November 5, 2026. Recommendations are based on official documentation and task analysis; this article does not claim a controlled performance benchmark of the two models.